Beginning Recorder
For many teachers, January is when the students in Grade 3, 4, or 5 start learning to play the recorder. While the recorder may seem like a simple instrument, there are many skills needed to be successful. Students must be able to: *tell which is their left and right hands* hold the recorder with the left hand at the top, right hand at the bottom* cover tiny holes with finger pads - not finger tips* start the note with the tongue * continue the air stream between notes to create a legato sound* breathe in appropriate places* demonstrate correct fingerings for notes* read the names of the notes * read and perform rhythms * understand meter * follow a conductor* demonstrate appropriate rehearsal skills* articulate: slur in some places, tongue in others* develop good intonation* develop a beautiful soundThis list is daunting for an adult! Breaking the skills down, islolating and teaching one skill at a time will help all of your students become successful recorder players.In this newsletter, I’ve got some tips for teaching students to read the names of the notes. Tip #1. Start teaching note names well before you order the recorders!Your students in K-2 should learn about the staff as part of their music classes. They should learn how to number the lines and spaces from the bottom to the top, and you can teach them that the treble clef circles the note G.I like to use the floor staff and the hand staff to teach letter names. In a previous newsletter floor staff games were discussed. (visit www.christmasconcert.com to download a copy) In this newsletter, I’ll discuss the hand staff. If you hold your left hand in front of you with your thumb up, palm facing you and your fingers spread out, it’s easy to imagine that your hand is a staff. You have five fingers, just like there are five lines on the music staff.. In K-2 have the students point to each finger starting with the finger that is closest to the floor. Number the “lines” of the hand staff. Play a pointing game. Call out “line one” or “line five” and have the students point to the correct “line.” Have a student be the leader and call out the line number.Then, point to the space between the fingers. This is the “space.” Call out “first space” or “third space” and have the students point to the correct “space.” Students like to be the leaders of the pointing game. When they are successful at just lines or just spaces, include both lines and spaces in the game. Starting in third or fourth grade, teach the letter names of the notes. I use these poems to introduce the line and space notes.The notes on the line spell Every good boy does fine.The notes in the spaceSpell your face!Then you name the first line E, second line G, third line B, fourth line D and fifth line F. Play the pointing game having the leader call out E, G, B, D or F.
Name the first space F, second space A, third space C and fourth space E.Play the pointing game having the leader call out F A C E. When students are successful at just lines or just spaces, include both lines and spaces in the game.No worksheets are needed to teach or review the note names - just the students hands. You can play the pointing games whenver you have a few minutes at the end of a class.
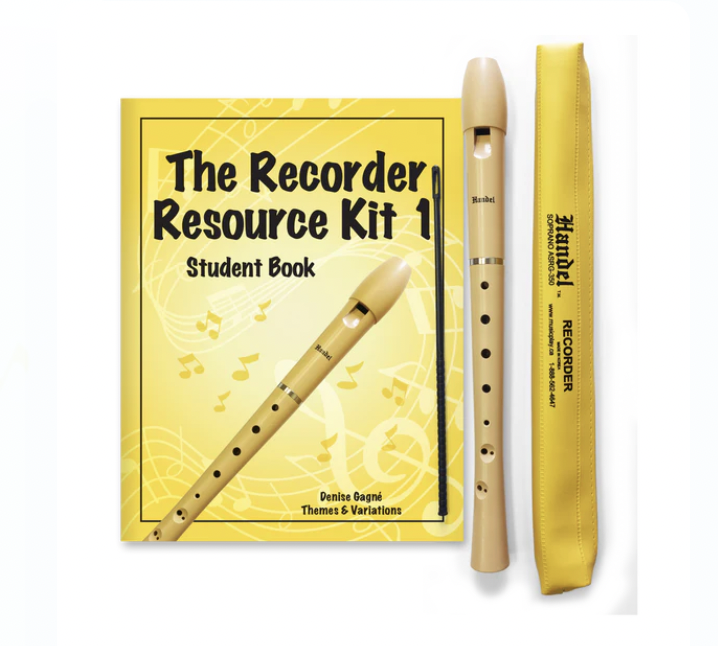
When the students can name the notes successfully, review some of the simple reading songs from previous grade levels by having students sing the letter names that you point to on the staff. (hand staff or a staff drawn on the board) When doing this, introduce some of the easy recorder songs that they’ll be learning to play later in the year. If you are using the Complete Recorder Resource Kit, some of the simple songs that you could have the students sing include Hot Cross Buns or Doggie Doggie. Each of these simple songs are singing games, so after singing the letter names, sing the song and play the game. When you give out recorders later in the year, the students will be able to sight-read the pieces on recorder much more easily after having reviewed them in the fall.
Singing Games OR Recorder Games
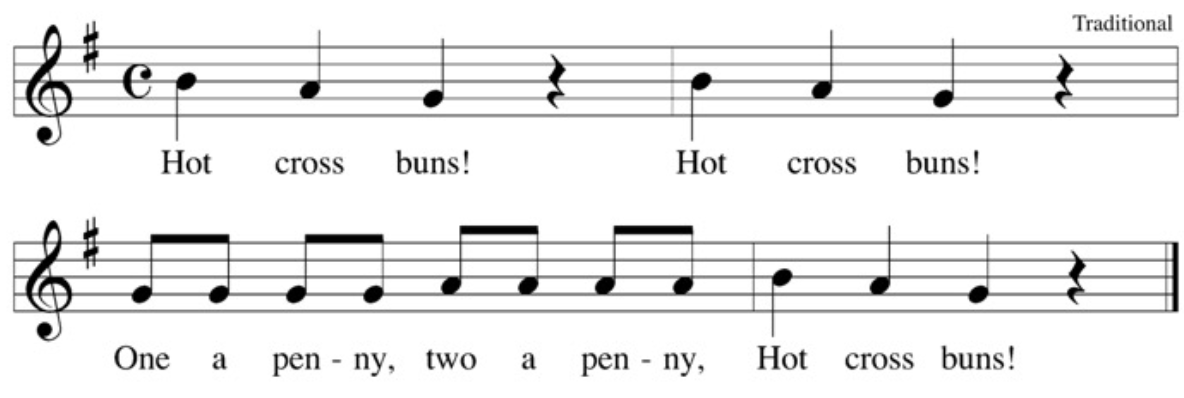
Hot Cross Buns Game: BAGz BAGz GGGGAAAA BAGz Introduce a clapping pattern while you sing the song. Start by clapping own hands, then clap a partners hands. This is too easy for 4th grade students, so make it more challenging by having them cross their arms each time they sing the word cross. Add a B section to the song using this poem taught to the author by Enid Best.I went into the bakery and what did I see?I saw a hot cross bun just a looking at me!Have the students do the clapping pattern with the song with a partner, then when they say the poem, look for a new partner.When your students learn to play the song on the recorder, review the game!
Doggie Doggie:
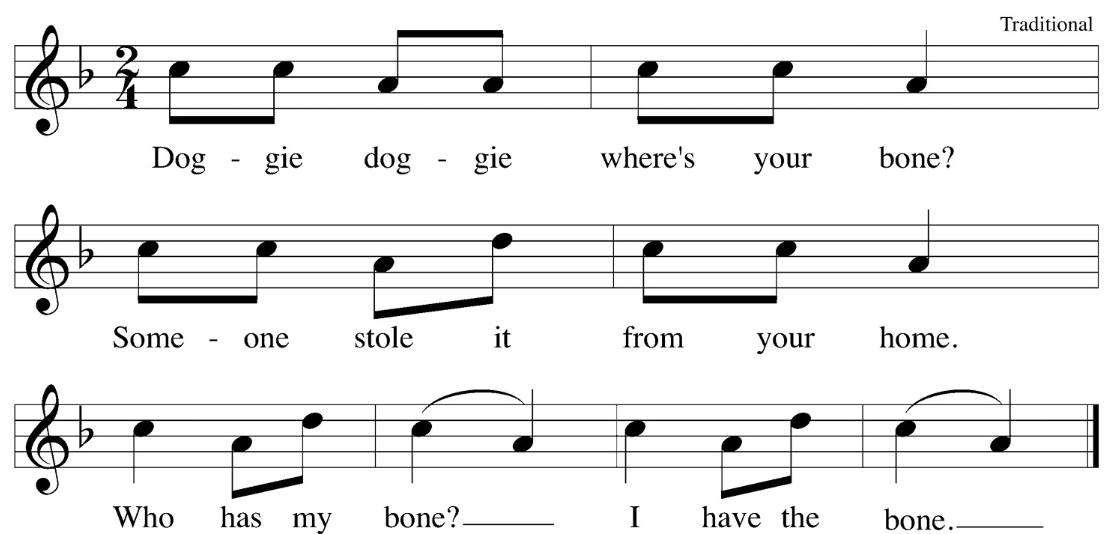
Doggie doggie where’s your bone? GG EE GG E
Someone stole it from your home. GG EA GG E
Who has my bone? G EA G E
I have your bone. G EA G E
One student is chosen to be the “doggie” or “guesser”. All sing the first two lines.
The “doggie” sings “Who has my bone?” and whoever has the bone (teacher selects a student) sings “I have your bone.”
Although this game is in the Musicplay 2 curriculum, it is a game that is fun to play for all ages! I suggest using the game to assess pitch matching during the solos. When the students learn to play this on recorder, you can use the solo parts to assess how well they are able to play G, E and A. The game itself is much more challenging when played on a recorder. The timbre of a class set of recorders is much more identical than the timbre of individual singing voices, so it’s harder to pick out who played the solo.
Tip #2 - Integrating the Special Needs child into a recorder class The fine muscle co-ordination needed to play the recorder is very often greater than a child with downs syndrome or other special needs has. Yet, they should be integrated into your music class. One of my all-time favorite students had downs syndrome and was a wonderful singer. However, he was not able to play the recorder on songs with more than one note. He loved “Just B” but couldn’t go much beyond it. He was able to read rhythms and had an excellent ear for music so what I did was assemble a tub of small percussion instruments - triangle, finger cymbals, jingle tap, hand drum, egg shakers, etc. When the students played a new song on recorder, this student chose a non-pitched instrument and played along. Sometimes he would play the rhythm of the melody, and sometimes we’d create an ostinato (repeated pattern) for him to play with the song. Sometimes one of the other students in the class would join him, playing non-pitched for a few songs instead of recorder. This was a win-win. All the students were fully involved in the class and the student with special needs was not frustrated by his inability to play the recorder.
Musicplay Live
Registration for Musicplay Live in Washington, DC; Austin, TX; and Virtual is open!
.png?width=483&height=405&name=MusicplayLive%202023%20Sing!%20Say!%20Dance!%20Play!%20With%20Artie%2c%20Denise%2c%20and%20JJ%20Locations%20FB%20(2).png)
Musicplay Workshops
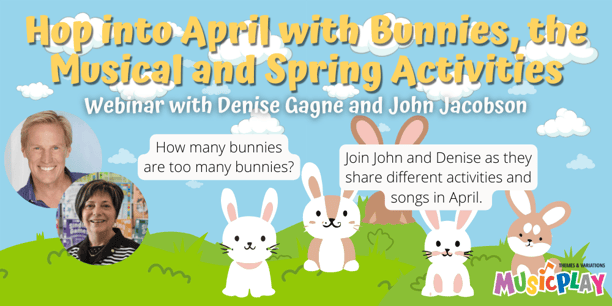
Check out our latest webinar on activities for April, including Easter and Spring activities AND Bunnies: The Musical!
Musicplay Minutes Podcast
Listen to our newest podcast on ideas for St. Patrick's Day and Earth Day!
